I took a long break from the blog...too much life going on!
I've got some great stuff to share....starting with this trash-to-treasure!
I took this very used pizza peel (destined for the dumpster) and turned it into a very cool sign.
BEFORE:
AFTER!!
Aren't these nesting tables gorgeous?!
...and they were going to be thrown out! Luckily, Mom drove past them; squealed on her brakes; made a U-turn; stuffed them in the trunk; and promptly brought them to me!
With a little cleaning they'll look fantastic.
Good Morning!
I have been a busy Lizzie...
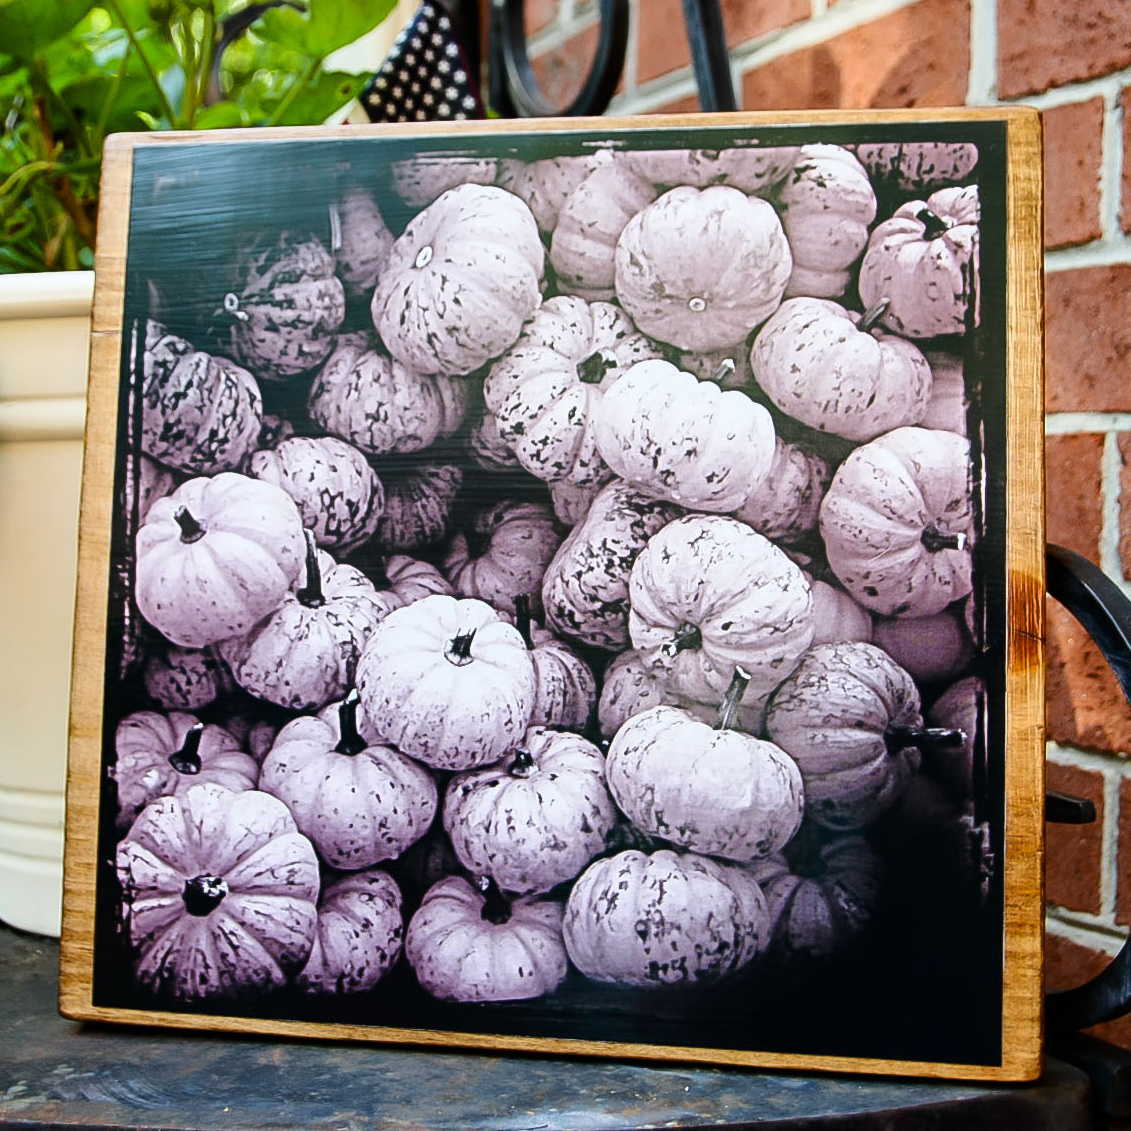
Here are the 3 pumpkins images. I used the same technique as with yesterday's Rooster image.
Next project; painting a small accent table.
Heat, humidity, post-surgery recovery and no drinky-poos makes Liz a grumpy girl...
So, in an effort to get out of my funk, I've been working on a few projects:
Combing through my photo files, I found some that had potential and played with Photoshop/Lightroom plug-ins.
I went to Home Depot and picked up a 1"x12"x48" pine board. I asked the board to be cut into 4 12"x12" pieces. I don't trust myself with a saw (yet), and the first 2 cuts are free; the last cut was$1. Works for me!
Here's my rooster. The original photo was just blah; but with some tweaking I roughed up the image. I sanded the board to soften the edges/corners; stained the board with fruit wood stain then a coat of provence stain. I used Mod Podge to adhere the photo directly onto the board; then 2 coats of Mod Podge on top of the image. Then to seal the board and buff up the sheen of the image, I used a small amount of Annie Sloan clear wax.
I have 3 pumpkin images that I am working on; should have them ready by the end of the day.
It's now day 4 post-gallbladder surgery (acute pancreatitis), and I am going stir crazy! I never realized how busy my life is until the brakes have been put on it...and frankly, I am very cranky. So, I needed a new project.
I am a self-admitted Anglophile. Gave Mom a list of sundries to bring home (She's on holiday; visiting friends in Woodchester, Oxford and London). I am hoping that William and Kate's baby will be born while Mom is in the UK.....ooooh, to think of all the tacky royal baby souveniers for purchase!
I knew I wanted to do a chubby teapot with the Union Jack flag. I googled "free teapot template" and found this cute teapot. I found the Union Jack image on The Graphics Fairy. I combined the 2 images in Photoshop CS4; then printed the image from home. I recommend to use a laser printer versus ink jet; less color smearing. Then again, the smearing worked in "aging" the image.
Ink jet image:
Cut out:
I used a solid side from one of the many veggie crates that I collected from Wegmans. I stained the wood first.
First coat of Mod Podge:
Sanded the image to rough it up:
Second heavy coat of Mod Podge:
I waxed the dried image with Annie Sloan Clear Wax, then antiqued the plaque with Annie Sloan Dark Wax: