Showing posts with label antiqued. Show all posts

Tuesday, March 29, 2016

Pizza Peel #2

I just finished this second pizza peel for Chartreuse Spring Market Days (15-17 April).


I started with this dirty rough pizza peel.  The peel was covered with baking soot. I wiped it down with bleach water to get most of it off the peel.  I weighted the board down so as it dried it would not warp.


I used the Typography Coffee Sign from The Graphics Fairy.  I used the enlargement method to get the sign big enough for my project.  The Graphics Fairy has a section on the different ways you can transfer her free graphics.  Her graphics and information are invaluable!

After enlarging the image, I taped it onto the pizza peel:


I then used a pen and pressed hard onto the paper to outline the lettering. (It's a big graphic, I had to bandage my thumb from the blister forming <hint>)


I peeled back the paper and used chalk to help see the outline from the pen markings:


After I finished tracing the sign I used chalk all over to highlight the graphics:


I used a pencil to trace over the pen engraving; then filled in the letters with a black sharpie.  I wiped down the peel with a sponge to get rid of the chalk.  After it dried, I used a rough grit sand paper to "age" the graphic.  I finished with rubbing lemon oil all over the pizza peel.

Et voila...finis!

Friday, March 18, 2016

Green Chair

Getting ready for Spring Market Days at Chartreuse!  Painted this chair with Annie Sloan chalk paint (White, then Antibes Green); distressed it; and a coat of clear wax.  Re-covered the chair in a fun modern polka dot.


Tuesday, April 21, 2015

Pretty Scrolled Table

Next weekend is Chartreuse's Spring Market Days.  I've been a busy bee and been painting like Van Gogh's painting frenzy in Arles. (I still have both ears!)

Just finished this table this morning:


Monday, June 16, 2014

French Stamp End Table

Before:  Nondescript, blah table:


After:  Wow!


I like to paint with Annie Sloan chalk paint (old white).  The Graphics Fairy has fantastic images.  I really like this french stamp image.  It was tiny, but The Graphics Fairy has a tutorials on how to enlarge images and various methods to apply the images.  The stamp printed out on 6 pages (reversed image)!  After cutting it out, I applied Mod Podge on the top of the painted table; carefully placed each piece (face down) on top of the Mod Podged table and smoothed out all the bubbles.  After a night of drying, I used a wet sponge and with  a lot of patience, gently wet/pealed away the paper until I got to the image.  Some of the image pulled away, but I liked the look.  After the image dried again, I applied 2 coats of Mod Podge (drying between coats) to the top of the image.  Then hand sanding.  A dry brush with a bit of Annie Sloan Emperor's Red chalk paint. More sanding.  Finished with Annie Sloan clear wax; dark wax, clear wax. <whew>

Saturday, March 22, 2014

Girly Chair

I have the knack of finding really ugly chairs...it's a gift.

 
With paint, left quilted silk fabric and a bit of gilding, it's now a pretty girly chair.
 

   2 coats of ASCP Pure White; finished with oyster pearl paint/water wash


     I had some left over fabric from two living room chairs; deep watermelon color quilted raw silk


The handle was an ugly bronze.  1 coat ASCP pure white; 1 coat oyster/water wash; venetian gold rubbed gilding; final coat of oyster/water wash

Sunday, February 2, 2014

Pop of Green

What was once a very blah table is now a bright and happy accent piece!

After: 3 different colors of ASCP


Before...bleh 


I painted the table with 2 coats of Annie Sloan Chalk Paint (ASCP) Pure White. Next, one coat of ASCP Antibes Green. I watered down ASCP Provence and applied it twice as a wash (letting it dry between coats).  200 grit sand paper to age the piece.  Final step:  applied Annie Sloan clear wax and buffed.


Thursday, October 3, 2013

French Label End Table

I am very proud of this project...

This was one ugly, beat-up end table:


 And After:


I painted 1 coat of ASCP (cream = soft butter color).  The wood stain bled through, so I had to paint the entire table with a primer/sealer.  2 more coats of ASCP (cream).  For the label, I used a french label from The Graphics Fairy.  To enlarge the label, there is a section on the website dedicated to transferring images.  I used the 1st method to enlarge the label.  It took 4 sheets of paper (8.5x11) to print the entire label.  I cut out the label; taped the edges together, and applied mod podge to the front of the label; then placed the wet image face-down onto the top of the table.  I then smoothed out the air bubbles with a putty scraper.  The image dried overnight. To remove the paper, I wet it with water and slowly rubbed the paper off with my fingers.  Some of the image came away completely, but I liked the look...it gave the entire image a worn/antiqued look to it.  I then waxed the entire table/image with AS clear wax, then antiqued the table/image with AS dark wax.  A little sanding; then clear/dark/clear wax.

Whew!

Monday, July 8, 2013

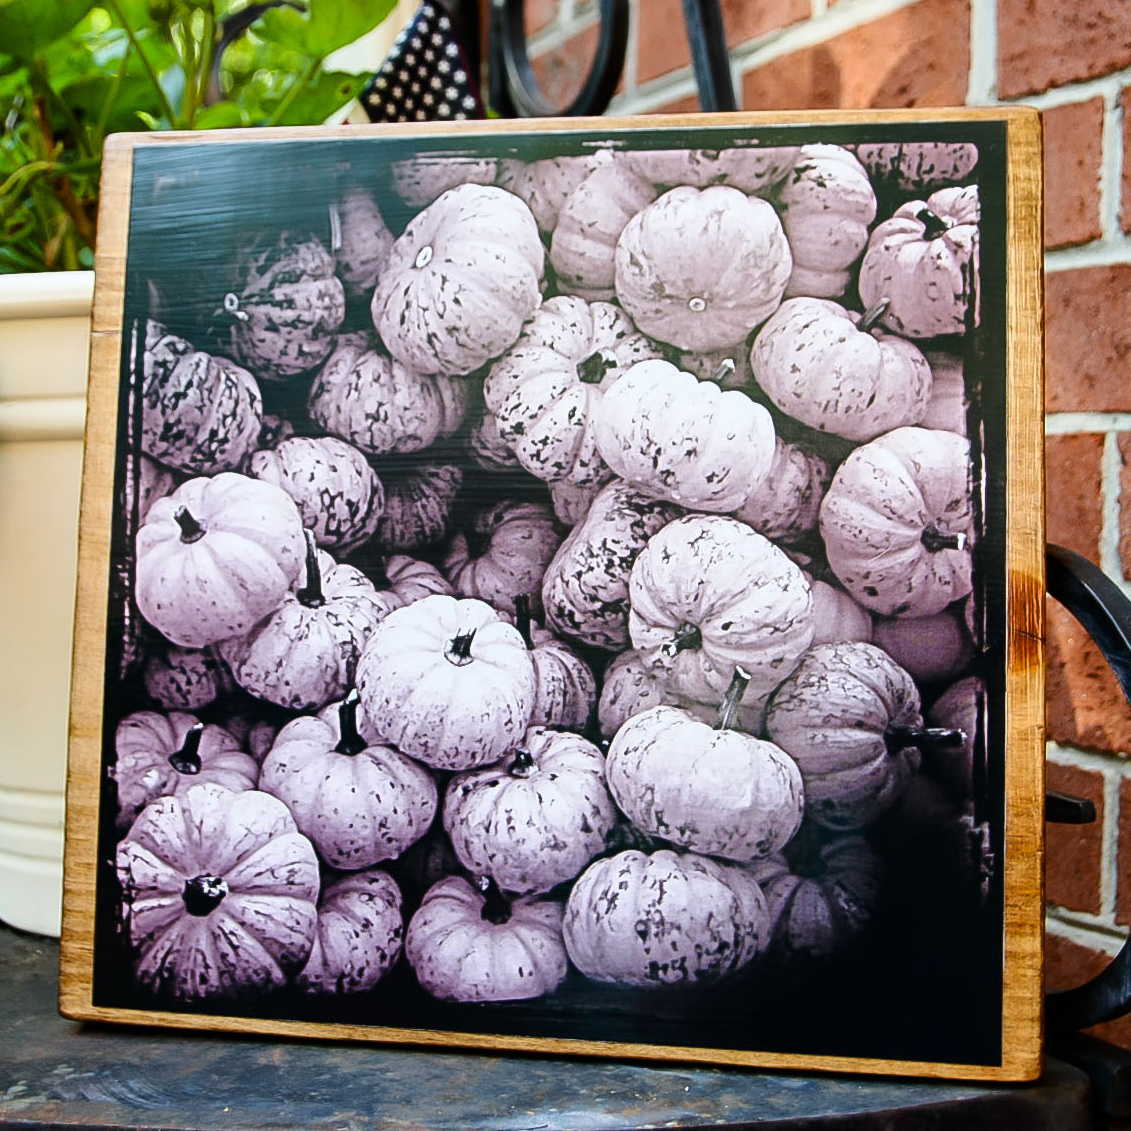
Vintage Pumpkin Triptych

Good Morning!

I have been a busy Lizzie...

Here are the 3 pumpkins images.  I used the same technique as with yesterday's Rooster image.


Next project; painting a small accent table.

Sunday, July 7, 2013

Vintage Rooster

Heat, humidity, post-surgery recovery and no drinky-poos makes Liz a grumpy girl...

So, in an effort to get out of my funk, I've been working on a few projects:

Combing through my photo files, I found some that had potential and played with Photoshop/Lightroom plug-ins.

I went to Home Depot and picked up a 1"x12"x48" pine board.  I asked the board to be cut into 4 12"x12" pieces.  I don't trust myself with a saw (yet), and the first 2 cuts are free; the last cut was$1.  Works for me!

Here's my rooster.  The original photo was just blah; but with some tweaking I roughed up the image.  I sanded the board to soften the edges/corners; stained the board with fruit wood stain then a coat of provence stain. I used Mod Podge to adhere the photo directly onto the board; then 2 coats of Mod Podge on top of the image.  Then to seal the board and buff up the sheen of the image, I used a small amount of Annie Sloan clear wax.


I have 3 pumpkin images that I am working on; should have them ready by the end of the day.

Tuesday, July 2, 2013

Union Jack Tea Pot

It's now day 4 post-gallbladder surgery (acute pancreatitis), and I am going stir crazy!  I never realized how busy my life is until the brakes have been put on it...and frankly, I am very cranky.  So, I needed a new project.

I am a self-admitted Anglophile.  Gave Mom a list of sundries to bring home (She's on holiday; visiting friends in Woodchester, Oxford and London). I am hoping that William and Kate's baby will be born while Mom is in the UK.....ooooh, to think of all the tacky royal baby souveniers for purchase!

I knew I wanted to do a chubby teapot with the Union Jack flag.  I googled "free teapot template" and found this cute teapot.  I found the Union Jack image on The Graphics Fairy.  I combined the 2 images in Photoshop CS4; then printed the image from home.  I recommend to use a laser printer versus ink jet; less color smearing.  Then again, the smearing worked in "aging" the image.

 Ink jet image:


Cut out:


I used a solid side from one of the many veggie crates that I collected from Wegmans. I stained the wood first.


First coat of Mod Podge:


Sanded the image to rough it up:


Second heavy coat of Mod Podge:


I waxed the dried image with Annie Sloan Clear Wax, then antiqued the plaque with Annie Sloan Dark Wax: