Before: Nondescript, blah table:
After: Wow!
I like to paint with Annie Sloan chalk paint (old white). The Graphics Fairy has fantastic images. I really like this french stamp image. It was tiny, but The Graphics Fairy has a tutorials on how to enlarge images and various methods to apply the images. The stamp printed out on 6 pages (reversed image)! After cutting it out, I applied Mod Podge on the top of the painted table; carefully placed each piece (face down) on top of the Mod Podged table and smoothed out all the bubbles. After a night of drying, I used a wet sponge and with a lot of patience, gently wet/pealed away the paper until I got to the image. Some of the image pulled away, but I liked the look. After the image dried again, I applied 2 coats of Mod Podge (drying between coats) to the top of the image. Then hand sanding. A dry brush with a bit of Annie Sloan Emperor's Red chalk paint. More sanding. Finished with Annie Sloan clear wax; dark wax, clear wax. <whew>
I love, love, love Pinterest!
Saw some decoupaged pumpkins and this is my version:
I painted a dollar store pumpkin and some faux leaves ASCP white. Tore up my old English Lit book; cut up some left over burlap ribbon; gathered some sticks and small branches from the yard. I soaked the pages in watered down coffee, then let them dry; tore the pages into small strips, dipped them in mod podge/water mixture and placed the strips all over the pumpkin...making sure to overlap the strips. While the pumpkin was drying, I cut up pieces of the branch for the pumpkin stem; applied Elmers glue to the pieces and leaves then rolled all of them in Martha Stewart glass glitter. Before I assembled everything, I sprayed the pumpkin with Mod Podge sealer. Then I went to town with a hot glue gun...et finis!
I am very proud of this project...
This was one ugly, beat-up end table:
And After:


I painted 1 coat of ASCP (cream = soft butter color). The wood stain bled through, so I had to paint the entire table with a primer/sealer. 2 more coats of ASCP (cream). For the label, I used a french label from The Graphics Fairy. To enlarge the label, there is a section on the website dedicated to transferring images. I used the 1st method to enlarge the label. It took 4 sheets of paper (8.5x11) to print the entire label. I cut out the label; taped the edges together, and applied mod podge to the front of the label; then placed the wet image face-down onto the top of the table. I then smoothed out the air bubbles with a putty scraper. The image dried overnight. To remove the paper, I wet it with water and slowly rubbed the paper off with my fingers. Some of the image came away completely, but I liked the look...it gave the entire image a worn/antiqued look to it. I then waxed the entire table/image with AS clear wax, then antiqued the table/image with AS dark wax. A little sanding; then clear/dark/clear wax.
Whew!
Good Morning!
I have been a busy Lizzie...
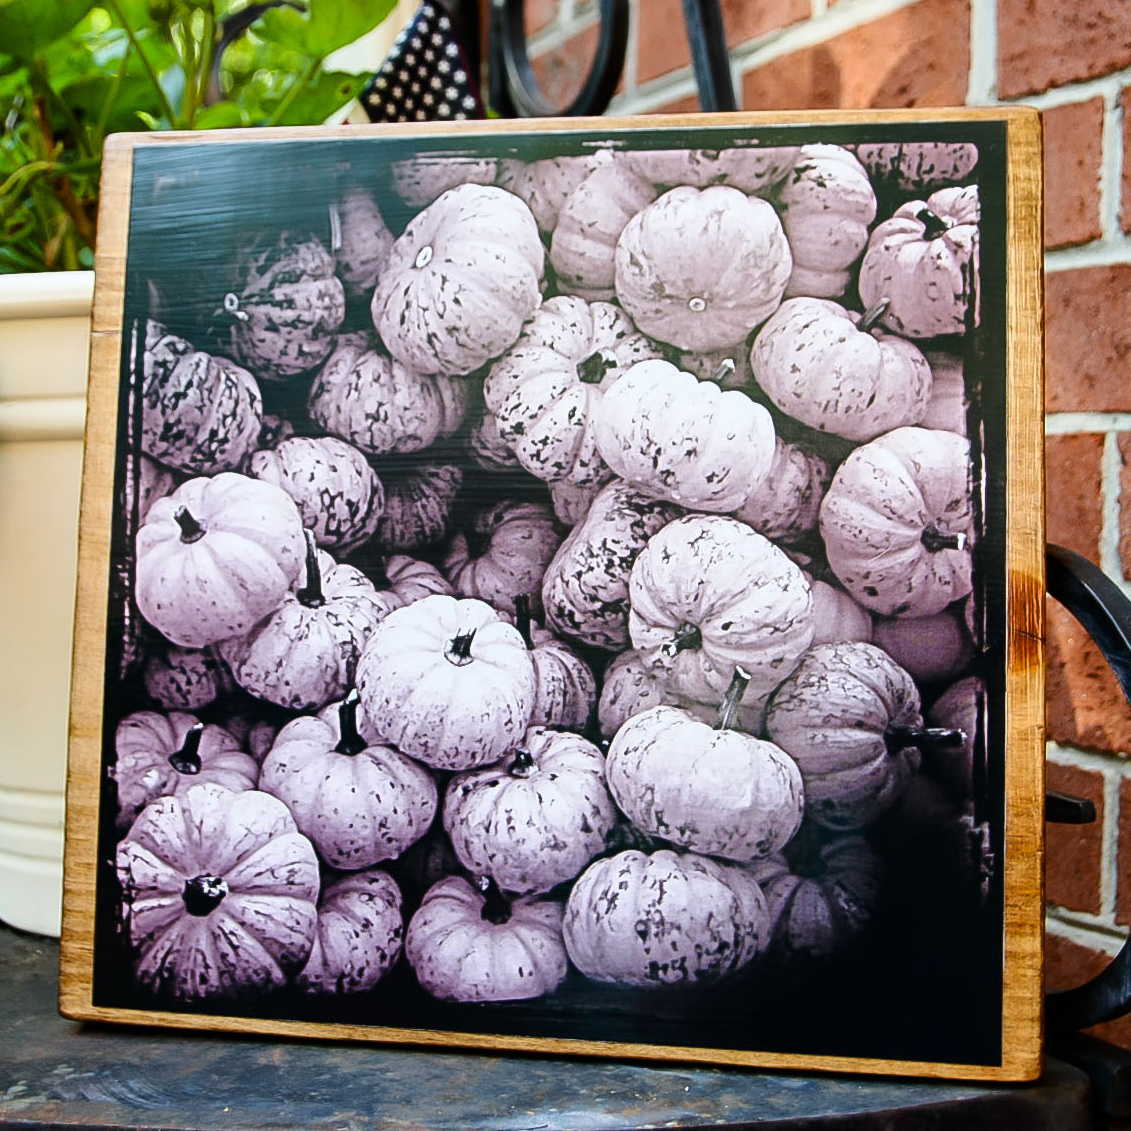
Here are the 3 pumpkins images. I used the same technique as with yesterday's Rooster image.
Next project; painting a small accent table.
Heat, humidity, post-surgery recovery and no drinky-poos makes Liz a grumpy girl...
So, in an effort to get out of my funk, I've been working on a few projects:
Combing through my photo files, I found some that had potential and played with Photoshop/Lightroom plug-ins.
I went to Home Depot and picked up a 1"x12"x48" pine board. I asked the board to be cut into 4 12"x12" pieces. I don't trust myself with a saw (yet), and the first 2 cuts are free; the last cut was$1. Works for me!
Here's my rooster. The original photo was just blah; but with some tweaking I roughed up the image. I sanded the board to soften the edges/corners; stained the board with fruit wood stain then a coat of provence stain. I used Mod Podge to adhere the photo directly onto the board; then 2 coats of Mod Podge on top of the image. Then to seal the board and buff up the sheen of the image, I used a small amount of Annie Sloan clear wax.
I have 3 pumpkin images that I am working on; should have them ready by the end of the day.